
A customer in Southeast Asia called us last spring with a familiar complaint. His pellets looked fine coming off the press, but by the time they reached the bagging station, a third of the batch had turned to dust. His first question: “Is the machine broken?” His second, twenty minutes later: “How long has my hammer mill screen had that hole in it?”
Crumbly pellets are the most common quality complaint we hear, and the cause is almost never a single broken part. Pellets that fall apart are telling you something specific about moisture, particle size, compression, heat, or handling — and the diagnosis is easier when you know how to read the symptoms. This article walks through the seven causes we see most often in the field, ranked roughly by how frequently they turn out to be the culprit, and ends with a decision path you can follow on your own line.
First, what “crumble” means in test terms

Pellet strength has a number. The industry measures it as mechanical durability — the share of pellet mass that survives a standardized tumbling test, defined in ISO 17831-1. The ENplus scheme requires at least 98.0% durability for its A1 grade, with fines (particles under 3.15 mm) limited to 1.0% at the factory gate, per the ENplus Handbook. A pellet that “seems a bit soft” is, in test terms, a pellet below its class limit.
Two things follow from that. First, durability is measurable, so every cause and fix below can be verified with a lab report rather than a feeling. Second, durability fails progressively — a die wearing out, a moisture setpoint drifting, a screen tearing — which means regular testing catches problems while they are still cheap.
Cause 1: moisture is outside the working window
This is the cause we see most, by a wide margin. Pelletizing needs the material wet enough for lignin to soften and flow between particles, but dry enough that steam does not disrupt bonding as the pellet exits the die. Research summaries put the practical window at roughly 10–15% incoming moisture, with both density and durability dropping when material sits outside it (the Biomass Connect pelletisation guide covers the mechanism in detail).
Too wet, and the pellet swells and cracks as it leaves the die — often with a visibly rough, split surface. Too dry, and particles slide through the die without fusing, producing short, dusty pellets that look like compressed sawdust rather than fuel.
The fix depends on which side of the window you are on. Wet feed belongs in the secadora rotativa, with its outlet moisture checked every shift, not once a week. Over-dried feed — common when a dryer is sized generously and sawdust runs hot — calls for either gentler drying or controlled steam conditioning to add moisture back at the press. Note that finished pellets must also land at or below 10% moisture for ENplus A1, so the target at the die is a window, not a maximum.
Cause 2: particle size is too coarse
Pellets bond along particle surfaces. Coarse particles mean fewer bonding surfaces, plus hard edges that act as fracture points inside the pellet. If your raw material went through the chipper but skipped the hammer mill — or if the hammer mill screen tore and nobody noticed — durability drops even when every other parameter is perfect.
The tell-tale sign is pellets that break cleanly across a coarse particle rather than crumbling into powder. Check the hammer mill screens first whenever durability slides after a maintenance stop; a worn or wrong-sized screen is a five-minute fix that saves a week of die experiments. As a working rule, most producers aim for particle size comfortably below the pellet diameter — a 6 mm pellet from material that still contains 5 mm slivers will never be strong.
Cause 3: the die and rollers are worn
Dies wear where the material enters, not where it exits. As the hole’s inlet chamfer erodes, the effective compression length shortens, the material takes less pressure to pass through, and pellets come out looser. Roller shells wear too, and the growing gap between roller and die means the machine slips material instead of gripping it.
Three symptoms point at wear: output drops at the same feed rate, fines climb without any other change, and the pellets have a soft, powdery skin that rubs off. The response is mechanical, not chemical — inspect the die’s inlet side against a new die, measure the roller gap, and replace components as a matched set. Running a new die against half-worn rollers compounds the wear on both. We stock matched ring die and roller sets for exactly this reason.
Cause 4: the compression ratio does not match the material
Every die has a compression ratio — the effective hole length divided by the hole diameter. A higher ratio forces material through more resistance, producing denser, stronger pellets and drawing more power. Softwood sawdust with healthy lignin content pellets well at moderate ratios; dry hardwood, straw, and low-lignin materials need higher ratios to bind.
The failure mode is real but subtle: a die chosen for one species gets quietly inherited by another. Pine runs beautifully on a die that makes beech sawdust come out loose. If durability dropped after a feedstock change — a new supplier, a different species mix — check the die specification before blaming the dryer or the operator. Die swaps are cheaper than contract disputes.
Cause 5: not enough heat at the press
Lignin, the natural binder in wood, only softens and flows when hot. The friction of compression generates much of that heat, but marginal setups — short dies, cold feed, high line speed, cold ambient conditions — can leave the material below the temperature where bonding happens reliably. The result is pellets that hold their shape but crumble under load, often with a matte, dusty surface.
Conditioning is the usual answer. Adding a small amount of steam or hot water ahead of the press — or simply slowing the feeder so friction has time to do its work — raises the material temperature into the bonding range. Producers switching from summer to winter operation see this one every year: same material, same machine, colder pellets, more fines.
Cause 6: cooling shocks the pellets
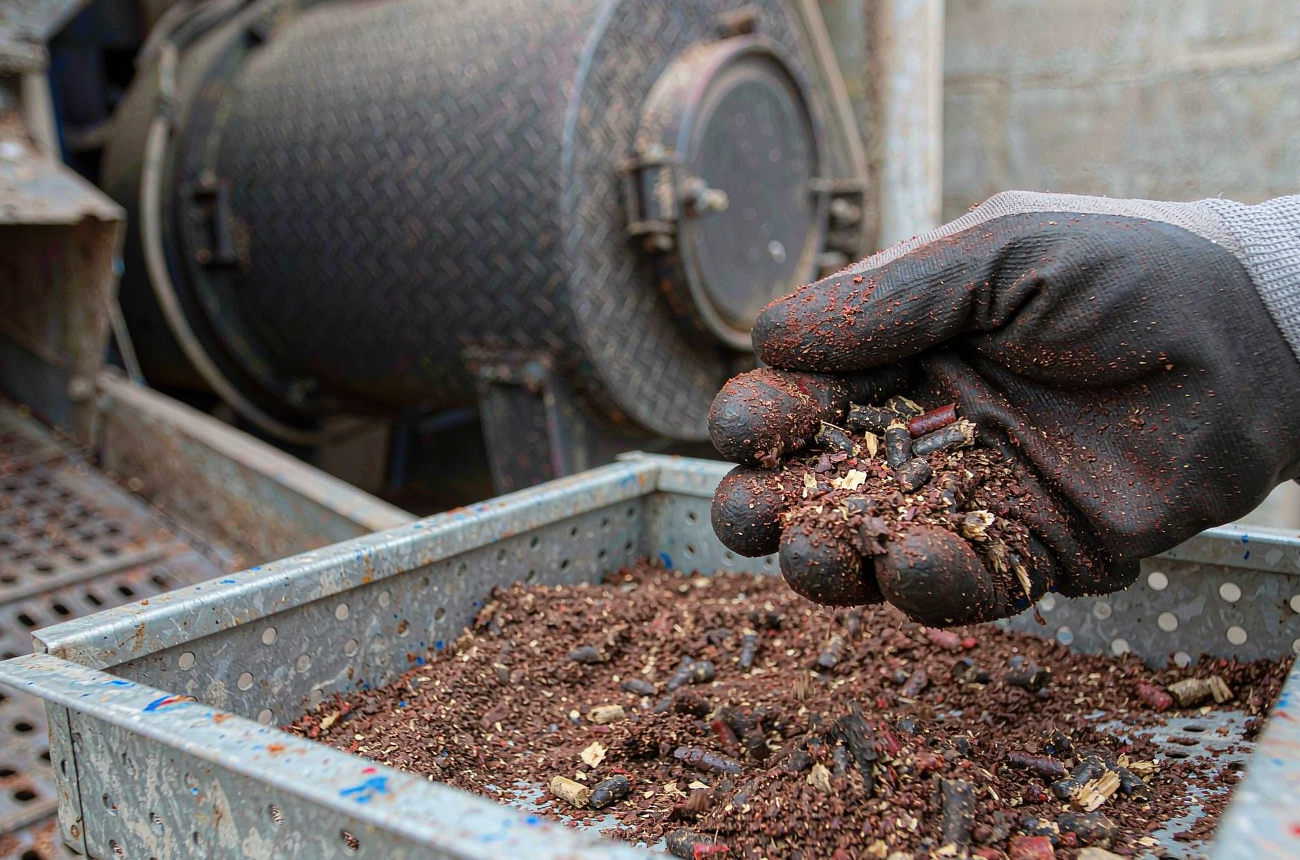
Pellets leave the die hot and soft, and they need controlled cooling to harden. Cool them too fast — cold, dry air blasted across a hot pellet — and the surface sets while the core is still contracting, creating invisible micro-cracks that surface as fines during handling. Cool them too slowly and they stay soft and steamy, sticking together and degrading in the silo.
Diagnose this one by sampling in two places: at the die discharge, and after the cooler. If hot pellets look strong but cooled pellets are dusty, the press is innocent and the cooling regime is the suspect — check airflow, cooling time, and the temperature difference between pellet and air.
Cause 7: rough handling after the cooler
The last cause is pure geometry. Pellets survive compression but not free fall. Every drop point — cooler discharge, bucket elevator, silo entry, bagging hopper — generates fines in proportion to drop height and impact hardness. A plant can fix every process parameter above and still ship dust if pellets fall three meters into a steel silo.
Walk the conveying path with a handful of pellets at each transfer point. Chutes, cushioning boxes, and gentler elevator buckets are inexpensive, and the fines they save are product you already paid to make.
The diagnostic table: symptom, cause, fix
| What you observe | Most likely cause | Fix |
|---|---|---|
| Pellets swell and crack at the die exit; rough, split surface | Feed too wet | Dry to the 10–15% window; check dryer outlet every shift |
| Short dusty pellets, powder-like skin | Feed too dry | Gentler drying or add conditioning moisture |
| Durability dropped after a maintenance stop | Torn or wrong hammer mill screen | Inspect and replace screens; verify particle size |
| Output down at same feed rate, fines up | Worn die and rollers | Measure wear; replace die and rollers as a set |
| Quality dropped after changing feedstock | Wrong compression ratio for new material | Match die to species; keep separate dies per material |
| Strong at die, dusty after cooler | Cooling too aggressive or too slow | Adjust airflow and cooling time; match air to pellet temperature |
| Strong in plant, dusty in the bag | Handling drops after cooling | Shorten drops, add chutes and cushioning at transfer points |
Where fines are born: follow the line
Fines have a birthplace, and a five-minute audit with a sample bag at each stage tells you where yours come from:
| Stage | Sample point | If fines jump here, the cause is… |
|---|---|---|
| Die discharge | Handful at the press outlet | Moisture, particle size, die condition, compression ratio, or heat — the pelleting process itself |
| Cooler discharge | Sample after cooling | Cooling regime — airflow, time, temperature differential |
| After screening | Sample at the screener outlet | Screen setup — or fines carried over from upstream |
| Bagging outlet | Sample from a finished bag | Conveying, drop points, and bagging equipment between the screener and the bag |
One habit worth building: log durability and fines weekly, with feed moisture and die hours in the same table. When the numbers slide, the log usually points at the cause before anyone opens a panel. Plants that keep the log replace dies on schedule; plants without it replace them after the customer complains.
Decision path: what to check, in what order
When pellets start crumbling, work down this list — each step either finds the cause or rules one out:
- Sample at the die. Are pellets weak the moment they are born? If yes, go to step 2. If they are strong at the die but dusty later, jump to step 6.
- Measure feed moisture. Outside 10–15%? Fix the dryer or conditioning first — it is the most common cause and the cheapest to correct.
- Check particle size. Inspect hammer mill screens and look for coarse slivers in the feed. Replace or resize the screen.
- Measure the die. Compare the working die against a new one — inlet wear, hole enlargement — and check roller shell wear and gap. Replace as a set if worn.
- Match die to material. Feedstock changed recently? Confirm the compression ratio suits the new material; keep dedicated dies per species.
- Audit cooling. Sample hot versus cooled pellets. Adjust airflow and cooling time so pellets harden gradually.
- Walk the conveying path. Find every drop point after the cooler and soften them.
- Verify with a test. Send a post-fix sample for ISO 17831-1 durability testing. A number in a lab report closes the case; a feeling does not.
Most plants find their answer in the first three steps. If you work through all of them and durability still will not hold above 98%, the line itself may be underspecified for the material you are running — that is the moment to send us your feedstock for a pelletizing test rather than to keep adjusting a machine that was never matched to the job. You can also read our guide on ideal moisture content for wood pellets for a closer look at the moisture window.
For producers weighing a line upgrade against endless adjustment, our article on vertical ring die machines explains why machine geometry often settles durability arguments that no amount of tuning can. Industry background on durability testing and quality schemes is also collected by the Wood Pellet Association of Canada for producers supplying certified markets.